Telstra Creator Space
Faculty of Engineering and Information Technology

Welcome to Telstra Creator Space
Telstra Creator Space is an accessible fabrication lab located in the University of Melbourne’s innovation precinct, Melbourne Connect. It’s a space where technology and creativity combine to form innovative solutions.
Telstra Creator Space is open to all students, academics and staff at the University of Melbourne.
Find us
Address
G203, Level UG, 700 Swanston Street (Building 290), Carlton VIC 3053
Enter via Swanston Street
General enquiries : telstra-creatorspace@unimelb.edu.au
3D printing-specific enquiries : 3Dprint-creatorspace@unimelb.edu.au
Opening hours
10.00am–7.00pm Monday to Friday. Last entry and tools down at 6.30pm Monday to Thursday, and 6pm Friday. We are open year round except when the University is closed.
-
Design Fabrication Review
Do you have a draft design or drawings but not sure how to bring it to life or do it in a sustainable way? Request time with a Telstra Creator Space team member.
-
What's on
Checkout the hands-on events and workshops this throughout the year open to the University of Melbourne students, staff and academics
-
Interactive virtual tour
A student-led project has provided you the opportunity to explore the space, equipment and amenities at your leisure
-
Vision
Telstra Creator Space will support the University of Melbourne’s Faculty of Engineering and Information Technology to prepare outstanding graduates and achieve global impact through our teaching and research, together with our partners.
Feedback and suggestions
If you have feedback about the Space, share your thoughts through this survey to let us know what your experience of Telstra Creator Space was like.
Virtual Tour
Telstra Creator Space features an extensive range of industry-grade equipment and tools. All you need to do to start using them is to register and then complete the required training.
Not sure what equipment you need to use? Explore the information on this website or come in and speak to a Telstra Creator Space team member for guidance.
Areas
Telstra Creator Space has a number of specialised areas dedicated to different aspects of making. From idea through to finished product, there is an area in which you can work on each stage of your prototype’s development. All areas require General Maker Training to access, and some require further training.
General Maker
Ground floor, basement
The General Maker areas are for designing and building your early prototypes. There are whiteboards to plan and sketch designs, cardboard and glue for making mock-ups and hand tools like saws, drills and hammers for building prototypes.
You’ll also find drop-in design desks with dual monitors, docking stations and power available to finesse your CAD designs here. We are a hands on learning space, so please schedule your studying and zoom calls in study spaces around campus and away from our concierge area.
Required training: General Maker Training

Electronics
Ground floor, basement
The Electronics areas contain the equipment needed to make, test and analyse the electronic aspects of your projects as well as soldering rework stations.
Required training: Introduction to Electronics and Soldering

Wood Shop
Basement
The Wood Shop contains traditional wood working machines which can be used to cut, turn, sand and shape wood and plastics. These machines are all connected to a dust extraction system and have a trained staff member to assist in their correct and safe method of use.
Required training: Wood Shop

Metal Shop
Basement
The Metal Shop contains traditional metal fabrication machines for cutting, bending, drilling, grinding and assembling steel and aluminium structures.
Required training: Metal Shop

Machining
Basement
CNC machining
Accurately cut and form materials here with automated control and programming to bring your mock-up to life.
Required training: CNC Mill, CNC Lathe, CNC Router
Traditional machining
Accurately turn, mill, drill and bore various materials using conventional machining processes.
Required training: Manual lathe, Manual mill

Services
Featured content
-
3D printing
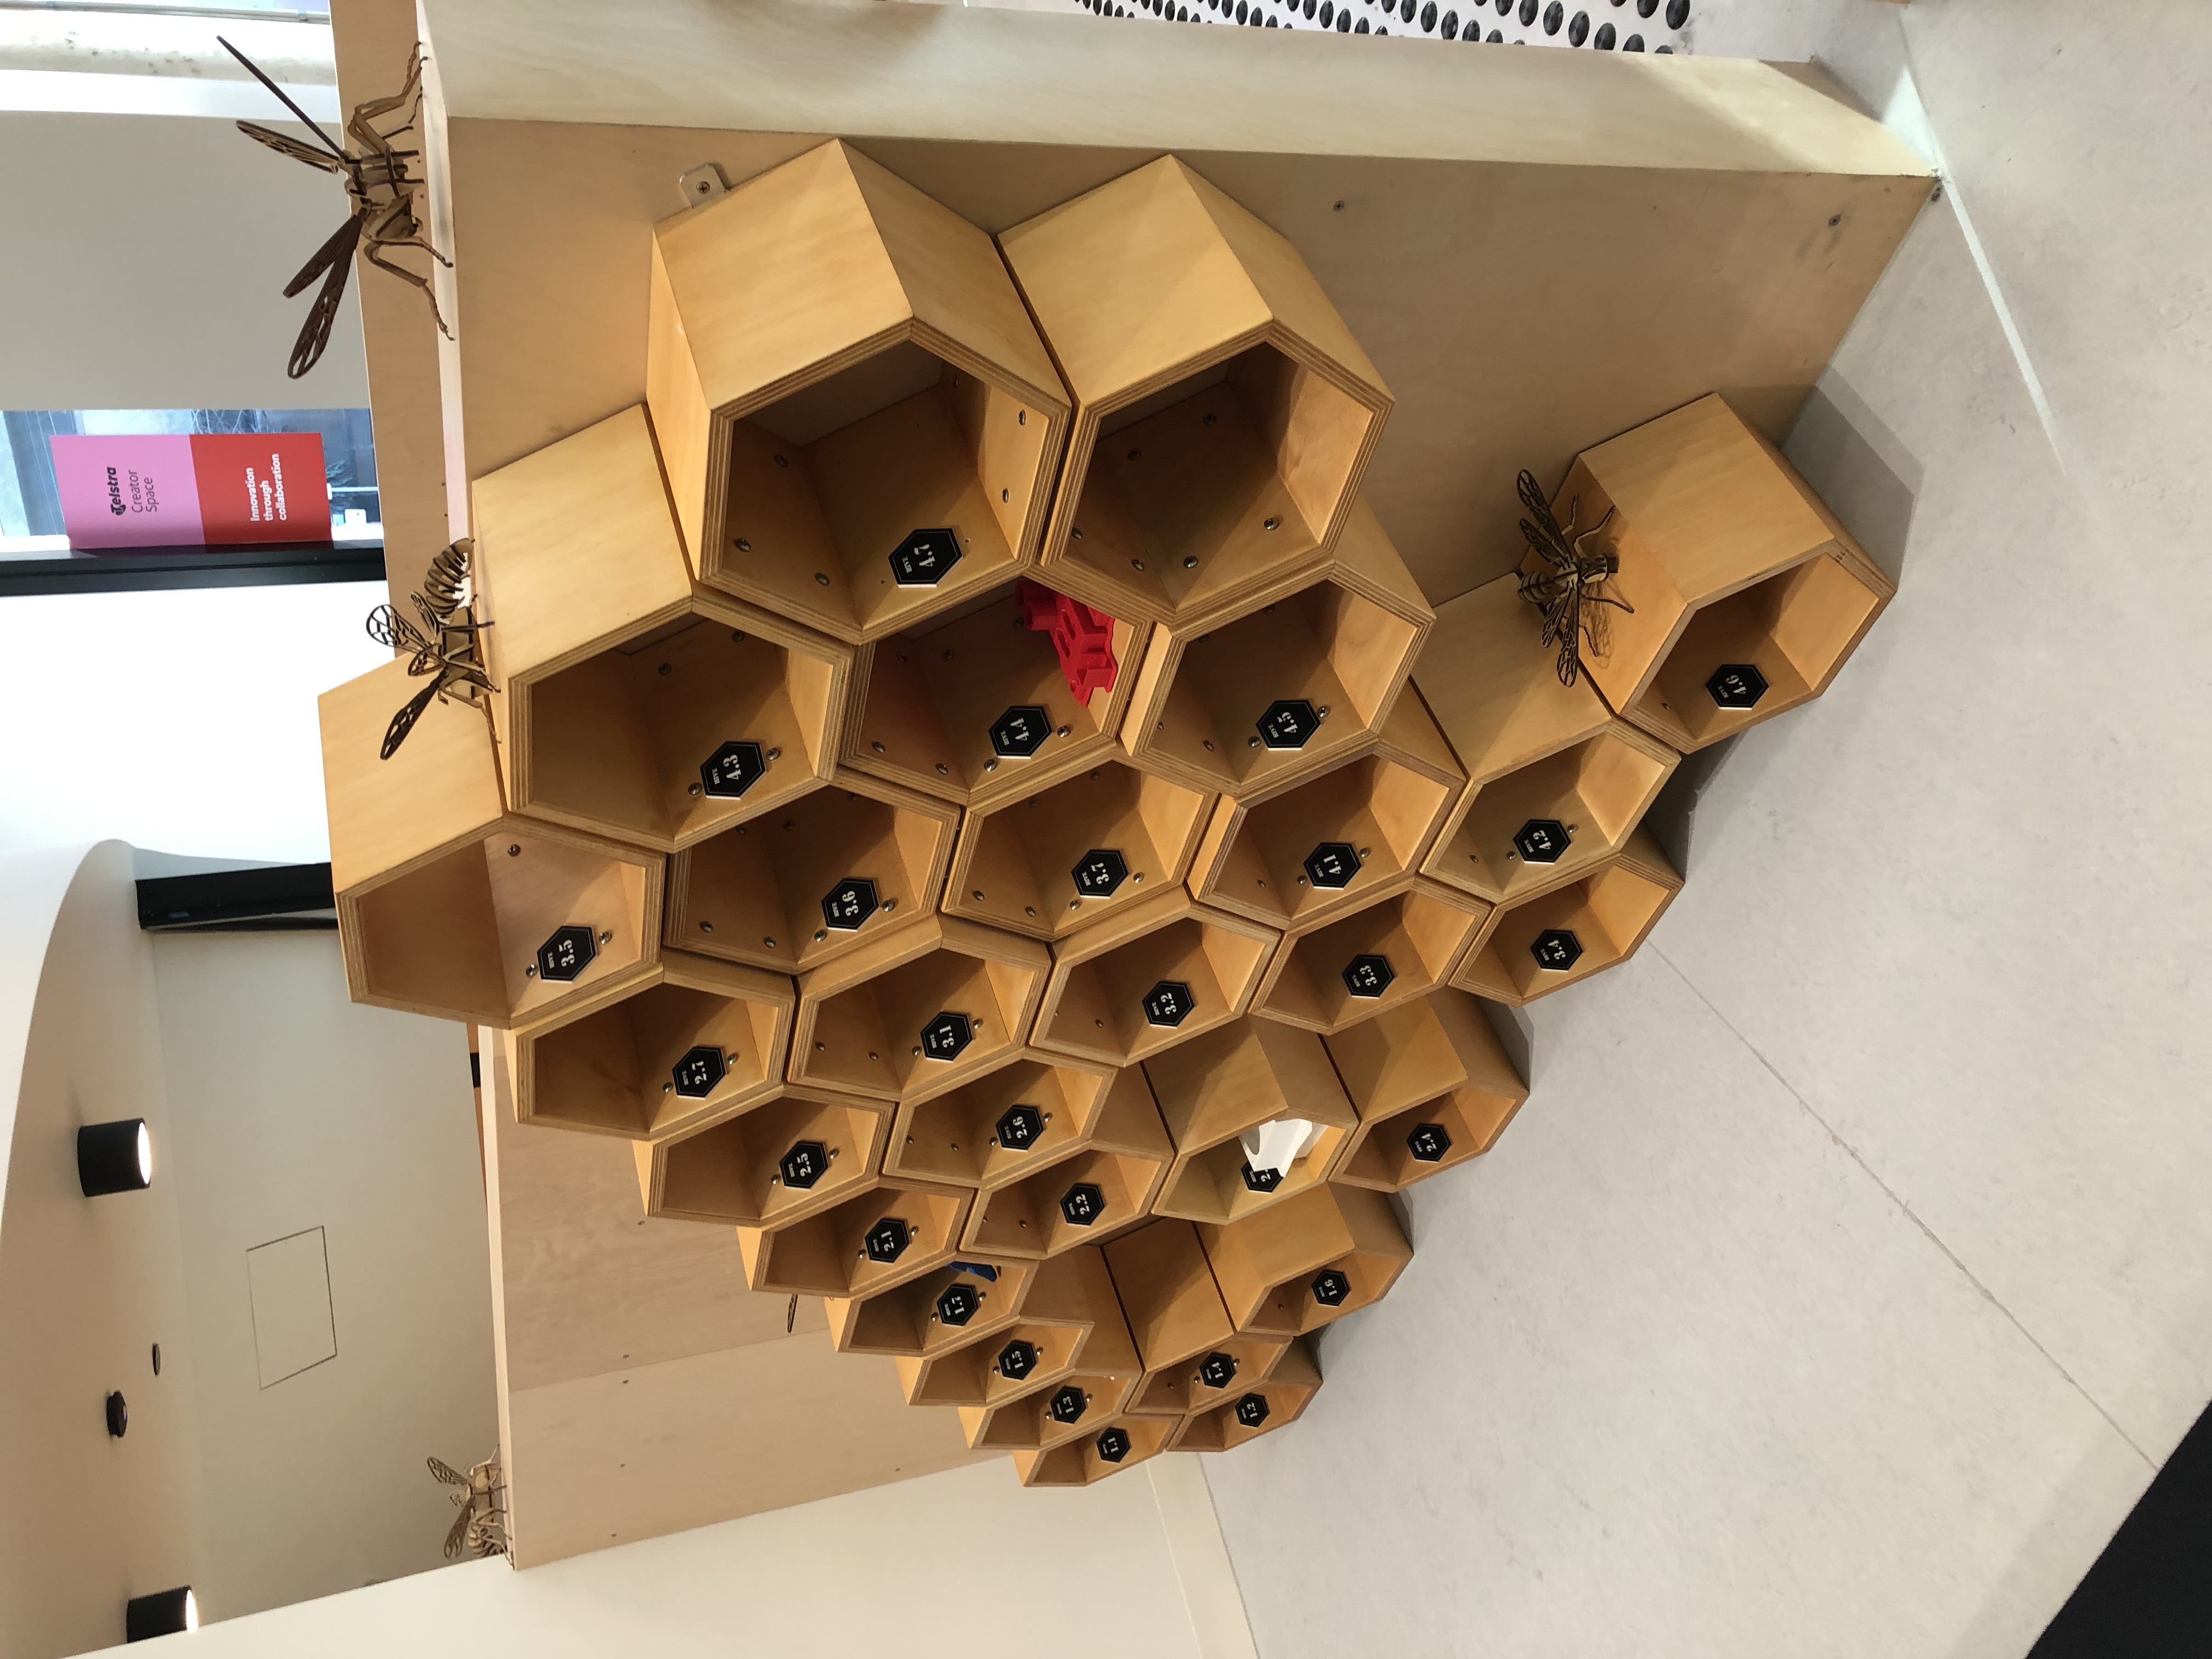
Any University of Melbourne student or staff member can submit jobs online to be 3D printed. Completed jobs can be collected from The Hive in the Telstra Creator Space foyer.
How to submit a job -
Event support
Telstra Creator Space supports student clubs and faculty members to run hands-on events in the Space. Please email us with your ideas and we’d be happy to help host your event.
Email us -
Design fabrication review
Do you have a draft design or drawings but not sure how to bring it to life or do it in a sustainable way? Request a review with a Telstra Creator Space team member.
Find out more -
3D scanning
Artec Leo and Artec Space Spider are available for use in Telstra Creator Space.
Find out more
Upcoming events
Telstra Creator Space hosts hackathons, workshops and meetups for faculty and student clubs throughout the year.
Are you a UniMelb student club or a part of the university interested in hosting an event at Telstra Creator Space? Please check out our event guidelines and contact us with your ideas and we’d be happy to help host your event.
Past events
-
Personal Projects
 Event
Event -
MUBES Medithon 2023
 Event
Event -
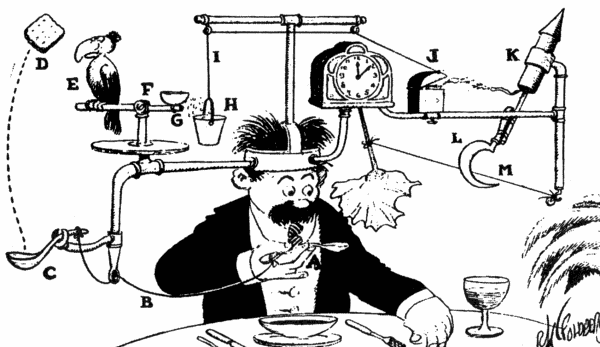
Amazing Spaghetti Competition 2023
 Event
Event -
MUEEC WattHack 2023
 Event
Event -
URT Rovathon 2023
 Event
Event -
Share your creation
 Event
Event -
Photo studio in Telstra Creator Space
 Event
Event -
Semester 1 2023 Subjects
 Event
Event -
Battle Bots March 2023 Challenge
 Event
Event -
Battle Bots March 2023 Challenge Day Viewing
 Event
Event -
Monday 11am - 2pmVolunteering and Experiences Fair (Employability Week)
 Event
Event -
Melbourne Orientation Week 2023 at Telstra Creator Space
 Event
Event -
Reflow Soldering training
 Event
Event -
Battle Bots February 2023 Challenge
 Event
Event -
Thursday 12pm - 2pmBattle Bots February 2023 Challenge Day Viewing
 Event
Event -
Battle Bots January 2023 Challenge
 Event
Event -
2023 Student Guide opportunities
 Event
Event -
Creators in Residence : Santa's elves
 Event
Event -
Christmas Week 2022
 Event
Event -
Semester 2 2022 subjects
 Event
Event -
Telstra and Faculty of Engineering & IT Innovation Challenge 2022
 Event
Event -
Melbourne Connect Innovation Week
 Event
Event -
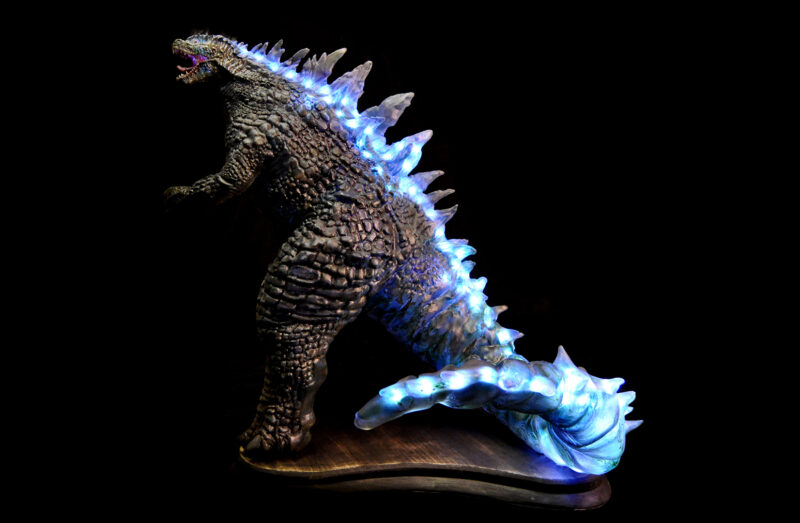
3D Printing Exhibition as a part of Innovation week
 Event
Event -
Thursday 12:30pm - 1:10pmTelstra Creator Space tour as a part of Innovation Week
 Event
Event -
Tuesday 12:30pm - 1:10pmTelstra Creator Space tour as a part of Innovation Week
 Event
Event -
Sunday 10:30am - 4pmOpen Day at The University of Melbourne
 Event
Event -
Saturday 10:30am - 3pmOpen House Melbourne: Telstra Creator Space
 Event
Event -
MUBES MediThon 2022
 Event
Event
Event guidelines
We ask that events held in Telstra Creator Space align with FEIT guidelines, in that they are one or more of the following:
- Educational
- Not for profit
- Part of the Melbourne Connect Community and or UoM (direct student and or staff)
- STEM/STEAM recruitment related to UoM
and not:
- UoM Alumni activity that does not meet points 1. AND 2. above
- Recruitment activities from non-UoM educational providers
- Unaligned external organisations
FEIT reserves the right to reject event proposals at its discretion.
If your event matches the criteria, you’re good to go! Contact telstra-creatorspace@unimelb.edu.au with your ideas and we’d be happy to help host your event. Need help refining your ideas to bring them into line? Feel free to contact us as well.
To ensure the safety of all users in Telstra Creator Space, there is a two-step registration and induction process in order to start making. The training is designed to be practical, effective, and short. Completing this training will equip you with the skills to get started on the tools, as well as give you a foundation to develop future skills.
How to gain access to Telstra Creator Space
-
Accept the Terms of Access and Use
Use the following form to accept the Terms of Access and Use. This will allow you to access the General Maker Training, which is required to access Telstra Creator Space.
Accept the Terms of Access and Use
If you are under 18, please have a parent or guardian fill out the Terms of Access and Use (PDF 209.4 KB), and send it us via email, at telstra-creatorspace@unimelb.edu.au.
It may take up to 45 minutes for the General Maker Training to appear in TrainMe once you have accepted the Terms of Access and Use.
While waiting, please familiarise yourself with the Telstra Creator Space guidelines. -
Enrol in and complete General Maker Training
After accepting the Terms of Access and Use, you will need to complete the General Maker Training. General Maker Training consists of two components.
- Three eLearn modules. These are accessed through TrainMe, which is a University training management platform. These are best completed on a laptop or desktop, rather than a mobile device.
- A face-to-face session, to become familiar with the workspaces, amenities and equipment. You will be able to enrol in this session through TrainMe upon completion of the eLearn modules.
We encourage you to get registered and trained up early in the semester to ensure you have access to the space when you need it. We stop running face-to-face training during weeks 8 to 12, to ensure sufficient access for coursework projects.
You must complete all of the eLearn modules as well as the face-to-face session to access Telstra Creator Space.
Once you have completed both components of the General Maker Training, your University ID card will be granted access to the both the ground floor and basement turnstiles at Telstra Creator Space.
-
(Optional) Further equipment training
Once you have completed General Maker Training, you will be able to access further specialised equipment training through TrainMe. The following courses are available:
- Laser Cutting
- Introduction to Electronics and Soldering
- Reflow Oven
- Wood Shop
- Metal Shop
As with the General Maker Training, all courses include eLearn modules as well as face-to-face sessions.
Regular usage of the equipment is required to maintain your access.
Telstra Creator Space guidelines
In the interest of safety, please adhere to the following:
-
Bring your University ID card
Your University ID card is required to access Telstra Creator Space and use the equipment.
Allowing someone else to use your card, including swiping someone else in, is a breach of the Terms of Access and Use and will result in revocation of access.
If you are joining us for a tour, please sign in at the Telstra Creator Space Concierge.
-
Wear closed-toed shoes
In the interest of safety, closed-toed shoes must be worn at all times within Telstra Creator Space.
-
No food or drink
Any food or drink, other than water (including coffee, tea, and snacks) are prohibited to consume in Telstra Creator Space.
Have your coffee, lunch and snacks before you come in.
-
Bring in safety glasses
We will provide you with your very own safety glasses in your General Maker Training face-to-face session. Safety glasses are essential personal protective equipment (PPE) for safe use of various tools in Telstra Creator Space.
-
No loose clothing or jewellery, and tie long hair back
This is to reduce your risk of your hair or clothing becoming tangled in the moving parts of equipment.
-
Clean up after yourself
Users are responsible for returning the tools, materials and chairs they have used to the correct locations and for cleaning their workspace.
-
Take 5 before you start

-
Report incidents and equipment issues
Inform a team member of any near miss or injury occurring in Telstra Creator Space. Report any issues or breakages of tools and equipment.
-
Communicate openly
Telstra Creator Space is a collaborative environment, one where you're encouraged to work with others to innovate. A key part of this is communication. Introduce yourself to other users and the Telstra Creator Space team members.
Our team members have a wealth of knowledge they are willing to share to support you in your making so please reach out if you're unsure of anything.
Ask first:
- If you’d like to bring in your own materials, such as paints and adhesives, as, in the interests of everyone’s safety, certain hazardous materials are banned.
- If you don’t know the right tool or material to use, or what’s best to shape your material. For example, treated pine cannot be cut using the laser cutter as it is hazardous.
- If in doubt about anything at all.
Tell us:
- About any near miss or injury occurring in Telstra Creator Space.
- If there are any issues or breakages of tools and equipment.
- What you think - feedback is important to keep the space meeting your needs.
We can’t maintain the safest possible environment for everyone without your help.
Materials
A basic inventory of materials is provided by the Faculty of Engineering & IT for project use. We encourage you to prototype your designs in drawing or CAD before physical prototyping.
If you are bringing in your own materials, please consult the Telstra Creator Space accepted and banned materials list. If your material is not listed, please ask a staff member.
Depending on the project, there are various ways to source your materials. The following table provides an overview of how to source materials for various types of projects.
Project type | How to source materials | Notes |
Coursework |
| Guidance to be provided via your subject coordinator. |
Capstone |
| *To access ‘in kind’ materials, groups are encourage to attend a Design Fabrication Review with a Telstra Creator Space team member to understand your needs. |
FEIT Clubs and Societies |
| |
Personal |
| |
Frequently asked questions
-
What are prototyping materials and off-cuts?
What’s an off cut?
An off cut is piece of waste material that is left behind after cutting a larger piece.
Re-purposing rejects, seconds and factory off cuts
From time to time, Telstra Creator Space sources a variety of items from Reverse Art Truck to assist in topping up our 'prototyping materials' for open ended projects.
What’s in your ‘prototyping materials’ collection?
It’s random and can change daily! For example, we could have PVC Pipes, string, or small bits of dowel. It's best to come in and check it out.
How you can contribute
Turn your waste, off cuts into something usable for someone else by placing it in the signed Prototyping materials and off cuts locations in Telstra Creator Space.
-
What materials are available in Telstra Creator Space?
Telstra Creator Space provides users with basic materials inventory to assist with making and honing one’s making skills. We do our best to maintain our stock levels and encourage you to only use what you need for projects you are working on in the space. Note the materials inside the Wood Shop and Metal Shop are for those trained users only.
- General Maker - Fasteners, sandpapers, adhesives, lubricants, seals, bearings
- Laser Cutting – MDF*, Clear acrylic*
- Metal Shop (trained users only) – Mild steel*, aluminium*
- Wood Shop (trained users only) – Some timber*, plywood*, MDF*, dowel*
- Electronics – Resistors, capacitors, voltage regulators, transistors, switches, sockets, inductors and much more!
*consider checking the Prototyping materials and offcuts locations first!
-
Can I self-source materials?
Do you have something you want to bring in?
Some materials may let off toxic dust when being cut; this can be a health hazard, or can damage the equipment. For your safety and for the equipment in the space, please be aware of accepted and banned materials in Telstra Creator Space.
If unsure please check with a team member before purchasing.
Considering glues, paints and flammable substances
Please consider the safety of all glues, paints and potentially hazardous substances. All chemical materials must have an adequate MSDS (Material Safety Data Sheet) to be brought into Telstra Creator Space.
For more information, see the University's health and safety chemical management guidelines. Here you can find information on Safe Data Sheets, and access GoldFFX.
Chemical management guidelines
Note: the Safe Data Sheets information and GoldFFX access page is only accessible with a university username and password.
Ensuring fair access to Telstra Creator Space
We know that when projects are due, time is of the essence and access to the equipment and space is critical, as such, we strongly encourage you to plan ahead.
We are currently operating both floors on a just in time/first in best dressed basis. We encourage you to use the space for making activities only.
Bookings are required for
- Groups over 6 people across the space
- Test Bed
- Tours
- Filming
Please contact telstra-creatorspace@unimelb.edu.au with your request.
A new way to submit and track your 3D printing in Telstra Creator Space has arrived!
3D printing is available to everyone with a University of Melbourne email address. Please allow 5 days for this to be ready for collection, as position and number in the queue and size of print influences our service.

- Head to https://www.3dprinteros.com/
- Select “My Account” (top right hand on the page)
- Select SSO (Single Sign On)
- Search for “ University of Melbourne” and select
Getting Started (One time signup)
You will receive a welcome email from Michael at 3DPrinterOS noreply@3dprinteros.com. As you are signed in through SSO you will not require the password that is provided.
Need assistance with 3DPrinterOS? use the pop up chat or select Support from the menu bar to activate the chat bot
-
Prepare
New to 3D Printing? It’s highly recommended that you complete the eLearn, Fundamentals of 3D Printing. This contains the basics of 3D printing, assistance in assessing if 3D printing is right for your project, and assist you in creating a high-quality finished product.
Note: This is available to users whom have completed the User Registration. Check out the Start Making for more.
Telstra Creator Space recommended Solidworks CAD or Fusion 360 (Computer Aided Design) software for developing your models. Check out Software for students - Student IT @ UniMelb
-
Submit
The following table details the required naming convention for all prints. If your submission name is not formatted correctly, it will be rejected. For the avoidance of doubt, if your capstone is also associated with a club, please just use the capstone naming convention. In the case that you are printing several files, use the naming convention as a prefix.
Purpose Project Name Format Example Coursework CourseCode_ProjectName_WorkshopNo_GroupNo MCEN30014_Gear_WS2_Grp4 Capstone Capstone_ProjectCode_ProjectName Capstone_I-21-WAND-021_Gearset3 Research Research_ProjectCode_Faculty Research_01-6300-10-XXXX-123456-GEN-10-01_FEIT Club Club_ClubCode_ProjectName Club_01-4000-39-5568-00000-ABC-10-01_RocketPart7 Other Other_ProjectName_Faculty Other_PersonalProject420_Science Navigate to https://www.3dprinteros.com/ and log in using your UniMelb credentials.
Upload and Naming Convention
1. On the files page, select "add files" and upload your STL files to be printed.
2. Find your file in the list and rename your STL using the naming conventions above.
Slicing
3. Select the Slice button and adjust the following to prepare it for printing.
4. Select Printer Type available in Telstra Creator Space from the list below:
Printer Guidance MakerBot 5th Replicator+ Default standard PLA – perfect for prototyping MakerBot Z18 Also PLA, for taller items above 457mm Ultimaker 2+ Coming soon!!! FlashForge Request a Design Fabrication Review and bring along your design Markforged Mark Two Request a Design Fabrication Review and bring along your design 5. Review and edit specifications for your print as required:
- Part needs to be within the dimensions of the build plate depending on which slicer is selected.
- Ensure that a raft is selected to help keep the part anchored to the build plate.
- Parts should not be touching the edges of the build plate as this will cause warpage or distortion due to the large surface area.
- Part with overhangs greater than 45 degrees need support material. Ensure that support is selected to ensure parts do not fail.
- Avoid solid parts as shell thickness is more than adequate and this will save on print time.
6. Select the Open slicer for<printer> button
7. Review and edit slice specifications as required
8. Select the Open slicer & toolpath preview button
This view will display the camera, layering of the print, the supports, quantity of filament used and the estimated print time.
Add to Queue
9. Select Print button
10. Select Radio button (the circle button) on jobs you wish to add to queue
11. Capture in Notes any information that may assist the team member to complete your job
- A description of what the part is is for. Be as descriptive as possible as this helps determine if 3D printing is the right method to use or can another fabrication option be used.
- For any capstone please include your supervisor here
- Due date for completion (+ 5 days)
12. Select Queue to add to queue
13. Select Files from the menu bar, Projects, to see your job queued
Yellow print button adds it to the queue. We will print this for you post reviewing your file!
If you have questions regarding the technical aspects of printing your design, please capture this in the notes area or even better, visit the team members on the ground floor in Telstra Creator Space.
(Please see the concierge desk and request to speak our 3D printing expert, Nasser)
-
Review
Leave this to us!
Telstra Creator Space team member will do a review and allocate it to the next available printer. Any feedback about your files/ will be noted against your job and email sent through 3DPrinterOS. Help us complete your print by responding in a timely way.
-
Print
Green light? You will receive an automated email : Your object was sent to the printer
A set of automated emails from 3DPrinterOS noreply@3dprinteros.com will keep you up to date of your job progress or any if any issues arise. You can manage these through your Profile Settings.
Upon completion, You will receive an automated email : Your object has been printed successfully. But wait! Over the next few hours (during opening hours) of our team will harvest it for you and place it in The Hive for collection.
-
Collect
The Hive is located in Telstra Creator Space foyer near the Concierge.
Your Hive number is the same as the printer is was completed on. You will find this in your 'Your object has been printed successfully' email eg. TCS 3.3
Be aware that due to the high number of print requests, your print may be placed in the same Hive number as an earlier request. Please be mindful of other users and only collect your work.
If you do not collect your item within 1 week (7 days) of its completion it will be recycled.
You do not need to have completed General Maker Training to collect your print.

-
Recycle
Finished with your 3D Print? Pop it in the pink drum in the Hive for recycling.


